欢迎来到 WebGIS 入门系列的第十三篇文章!在本文中,我们将介绍如何利用 ArcGIS Maps SDK for JavaScript 实现地图中的一些小的功能组件,比如底图切换、二三维视图切换、地图全屏等。通过学习本文,您将掌握 WebGIS 系统中关于地图交互的一些基础操作。
全屏功能
在 MapTools 组件中,增加地图工具箱菜单,在此菜单中增加测距、标记点、全屏子菜单:
<template>

  <div class="map-tools">
        // ......
    <span class="map-tool-item">

      <el-dropdown trigger="click">

        <span class="el-dropdown-link">
                    地图工具箱<el-icon class="el-icon--right"
            ><arrow-down
          /></el-icon>

        </span>

        <template #dropdown>

          <el-dropdown-menu>

            <el-dropdown-item :icon="TopRight">测距</el-dropdown-item>
              <el-dropdown-item :icon="Place">标记点</el-dropdown-item>

            <el-dropdown-item
              :icon="FullScreen"
              @click="handleFullScreenBtnClick"
              >全屏</el-dropdown-item
            >

          </el-dropdown-menu>

        </template>

      </el-dropdown>

    </span>
        // ......
  </div>
</template>
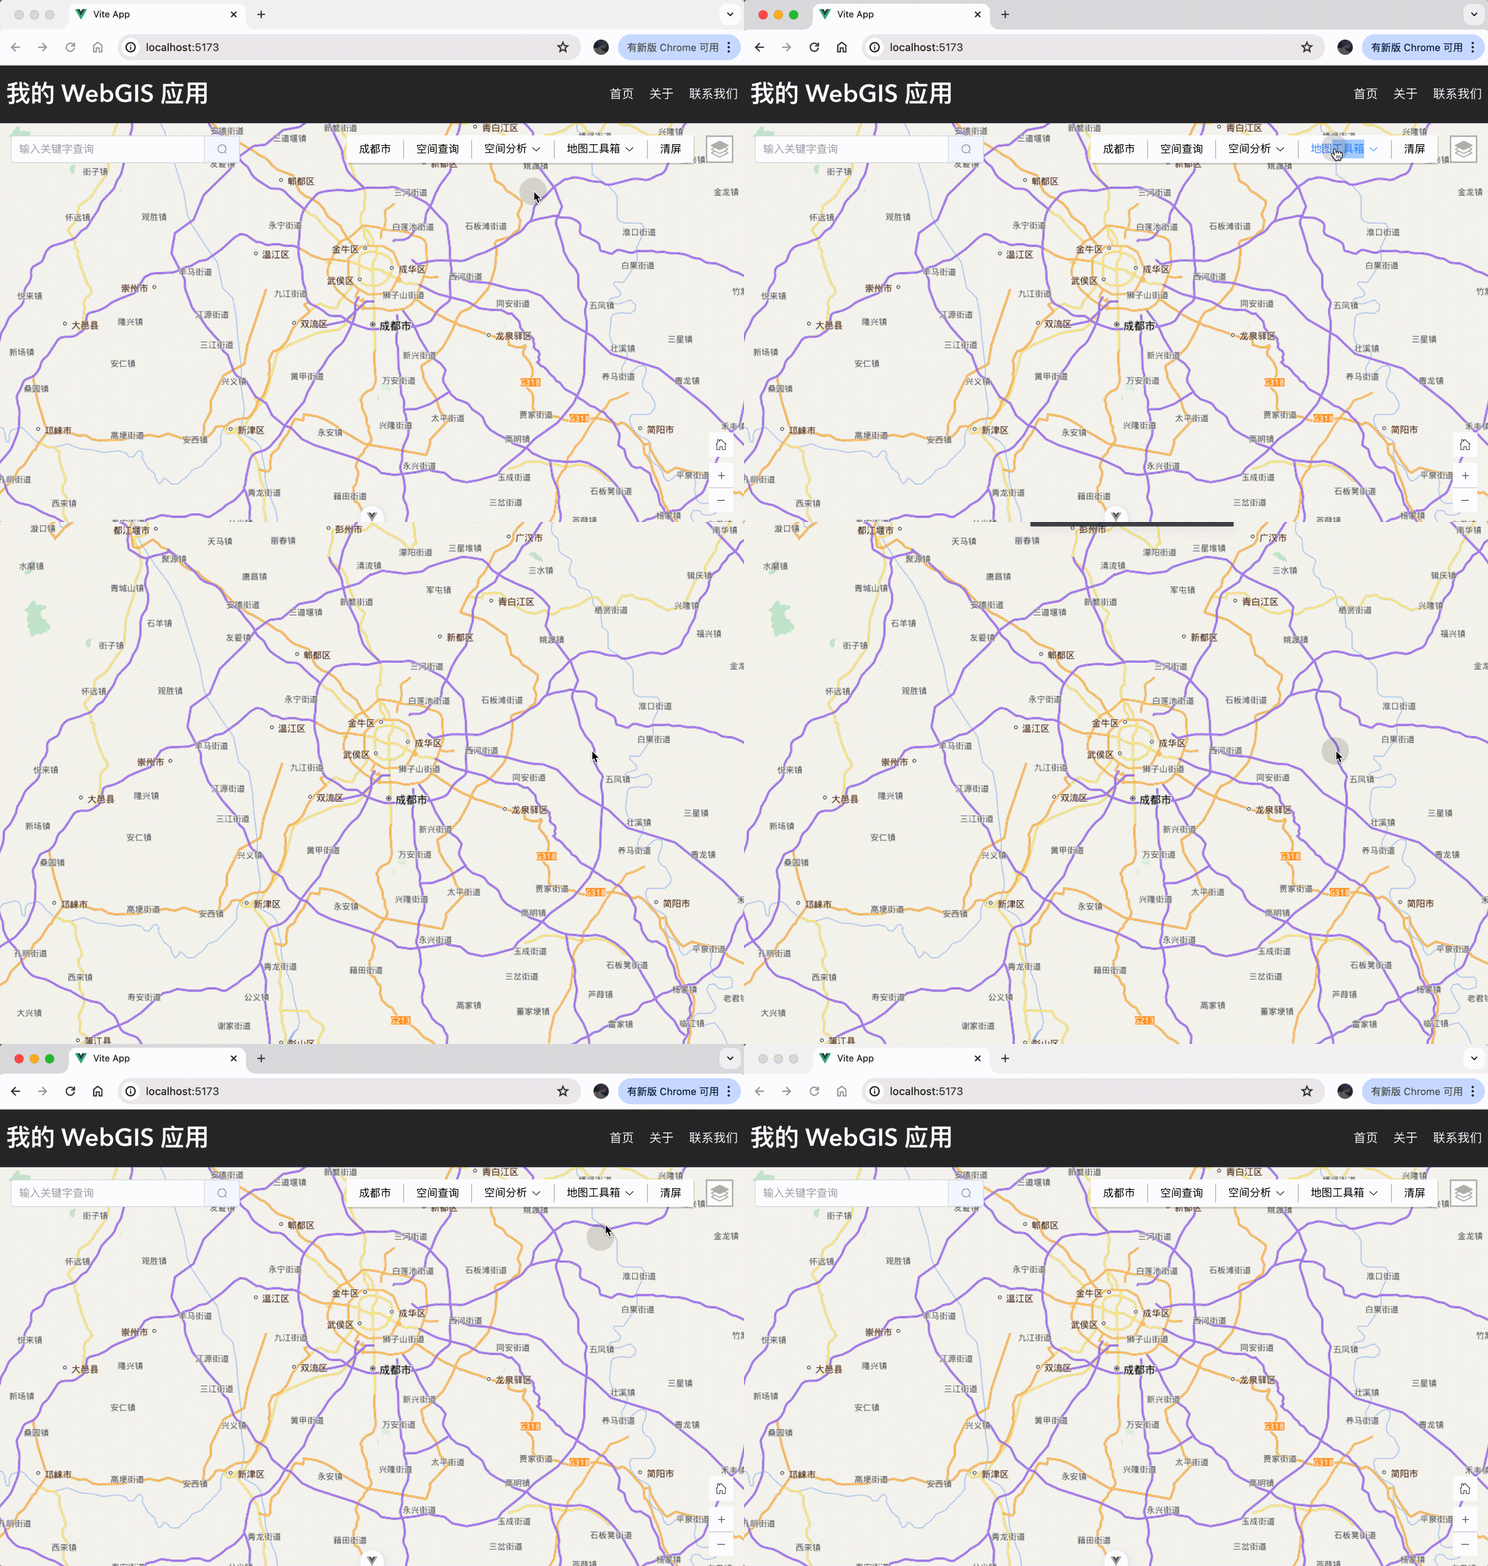
在全屏菜单上面绑定 click 事件,在事件中通过 FullscreenViewModel API 来实现全屏功能:
import FullscreenVM from '@arcgis/core/widgets/Fullscreen/FullscreenViewModel.js'
// ......

function handleFullScreenBtnClick() {
  const mapView = mapViewStore.mapView as MapViewData
  const fullscreenVM = new FullscreenVM({
    view: mapView
  })
  if (fullscreenVM.state === 'active') {
    fullscreenVM.exit()
  } else {
    fullscreenVM.enter()
  }
}
界面预览如下图所示:
地图主页组件
在 src/components 目录下新建 MapMore 组件,拷贝以下代码至此组件:
<template>

  <div class="map-more"></div>
</template>

<script setup lang="ts"></script>

<style scoped>
  .map-more {
    position: absolute;
    bottom: 16px;
    right: 16px;
  }
</style>
将此组件引入到 MapView 中,此时界面上看起来应该不会有任何变化。
在 MapMore 中新增加 id 为 map-home 的 div 元素,用于存放地图主页组件,并设置此元素的 css 样式,然后通过 Home API 实现地图主页组件,如下:
<template>

  <div class="map-more">

    <div id="map-home"></div>

  </div>
</template>

<script setup lang="ts">
  import { onMounted } from "vue"
  import Home from "@arcgis/core/widgets/Home.js"
  import { useMapViewStore } from "@/stores/counter"
  import type { MapViewData } from "@/interface/index"

  const mapViewStore = useMapViewStore()

  function initMapHome() {
    const mapView = mapViewStore.mapView as MapViewData
    const home = new Home({
      view: mapView,
      container: "map-home",
    })
    mapView.ui.add(home)
  }

  onMounted(() => {
    setTimeout(() => {
      initMapHome()
    }, 0)
  })
</script>

<style scoped>
  // ......
  #map-home {
    position: absolute;
    bottom: 16px;
    right: 16px;
  }
</style>
此时界面预览效果如下所示:
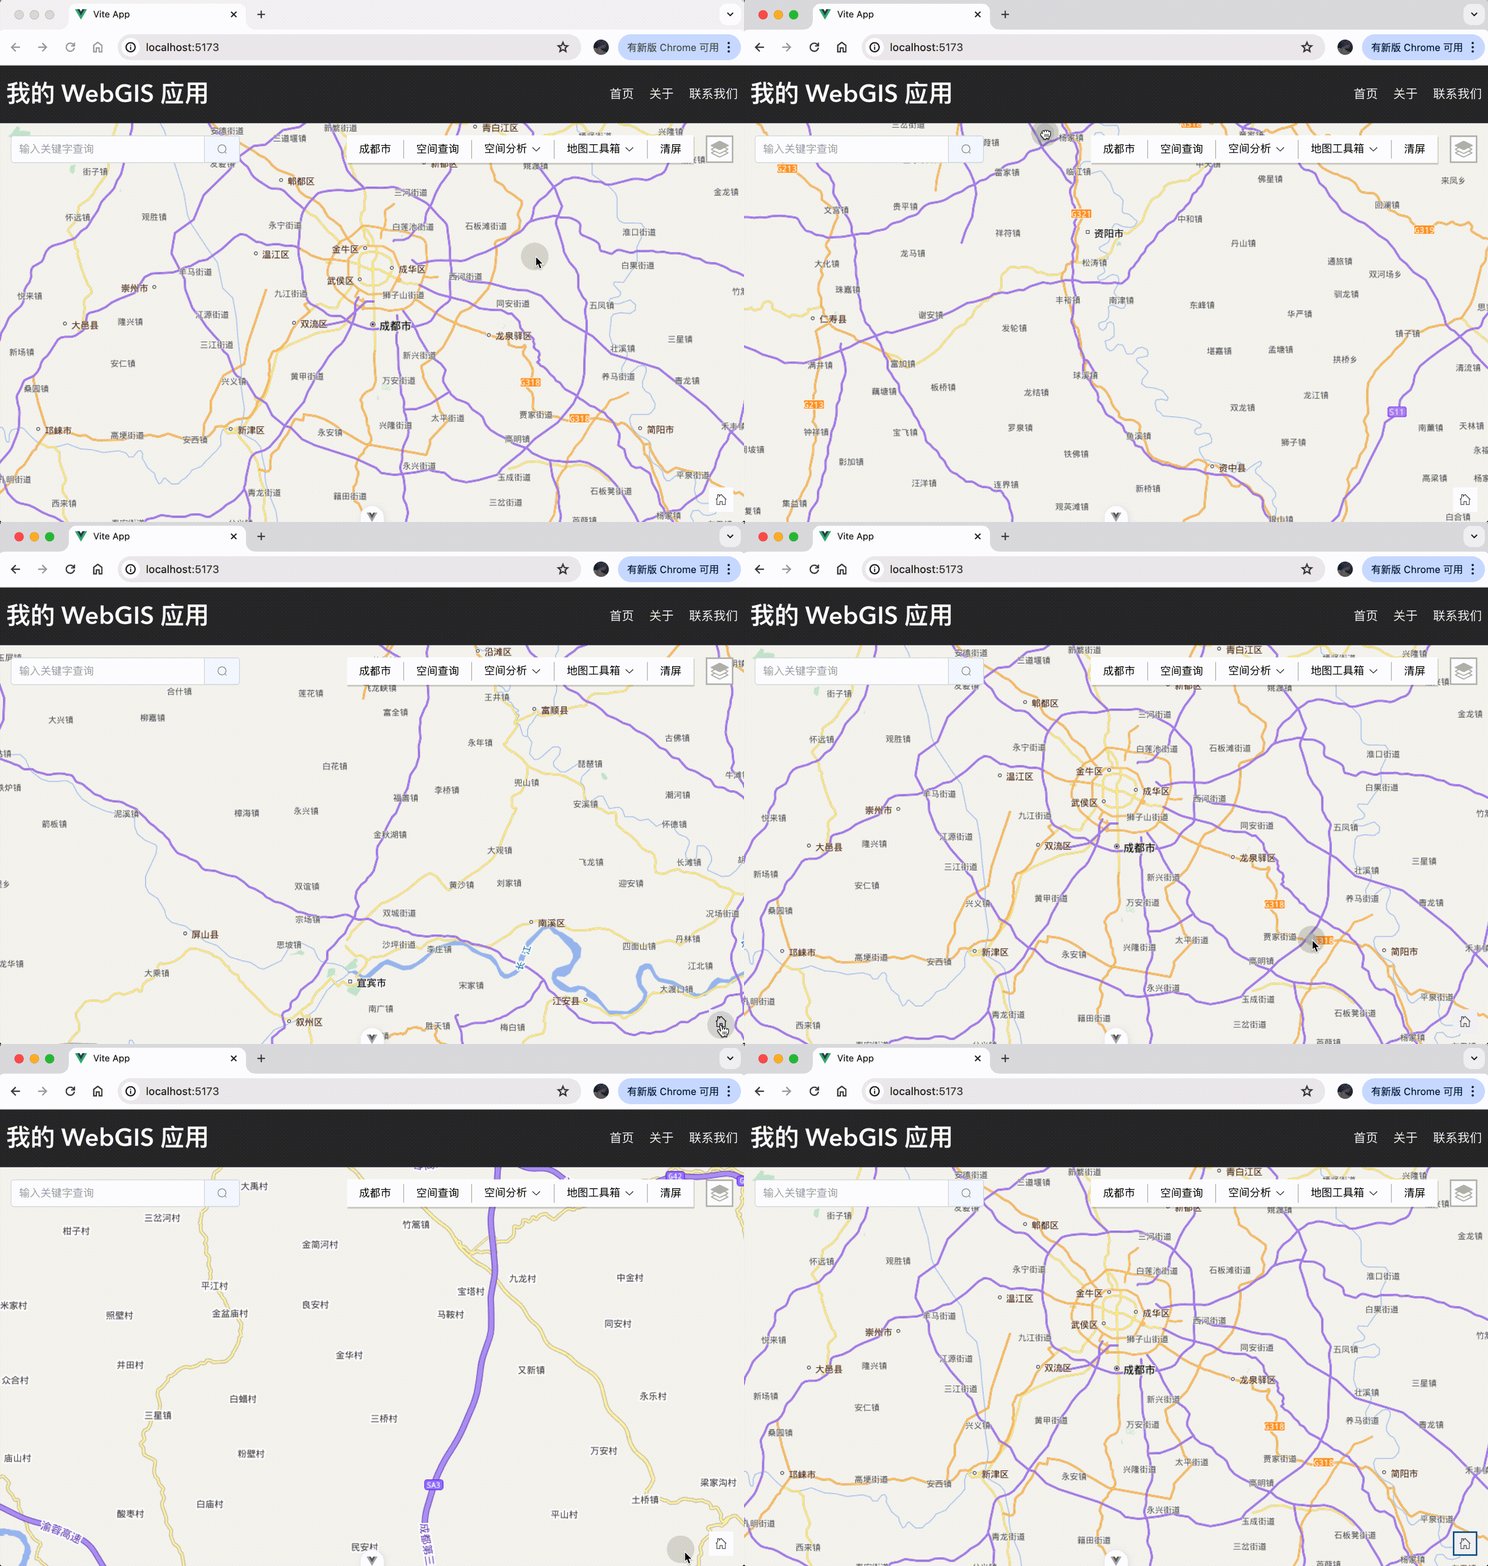
地图缩放组件
同理,通过 Zoom API 实现地图缩放组件:
<template>

  <div class="map-more">
        // ......
    <div id="map-zoom"></div>

  </div>
</template>

<script setup lang="ts">
  import Zoom from "@arcgis/core/widgets/Zoom.js"
  // ......

  function initMapZoom() {
    const mapView = mapViewStore.mapView as MapViewData
    const zoom = new Zoom({
      view: mapView,
      container: "map-zoom",
    })
    mapView.ui.add(zoom)
  }

  onMounted(() => {
    setTimeout(() => {
      initMapHome()
      initMapZoom()
    }, 0)
  })
</script>

<style scoped>
  // ......
  #map-zoom {
    position: absolute;
    bottom: 16px;
    right: 16px;
  }
</style>
此时界面预览效果如下所示:
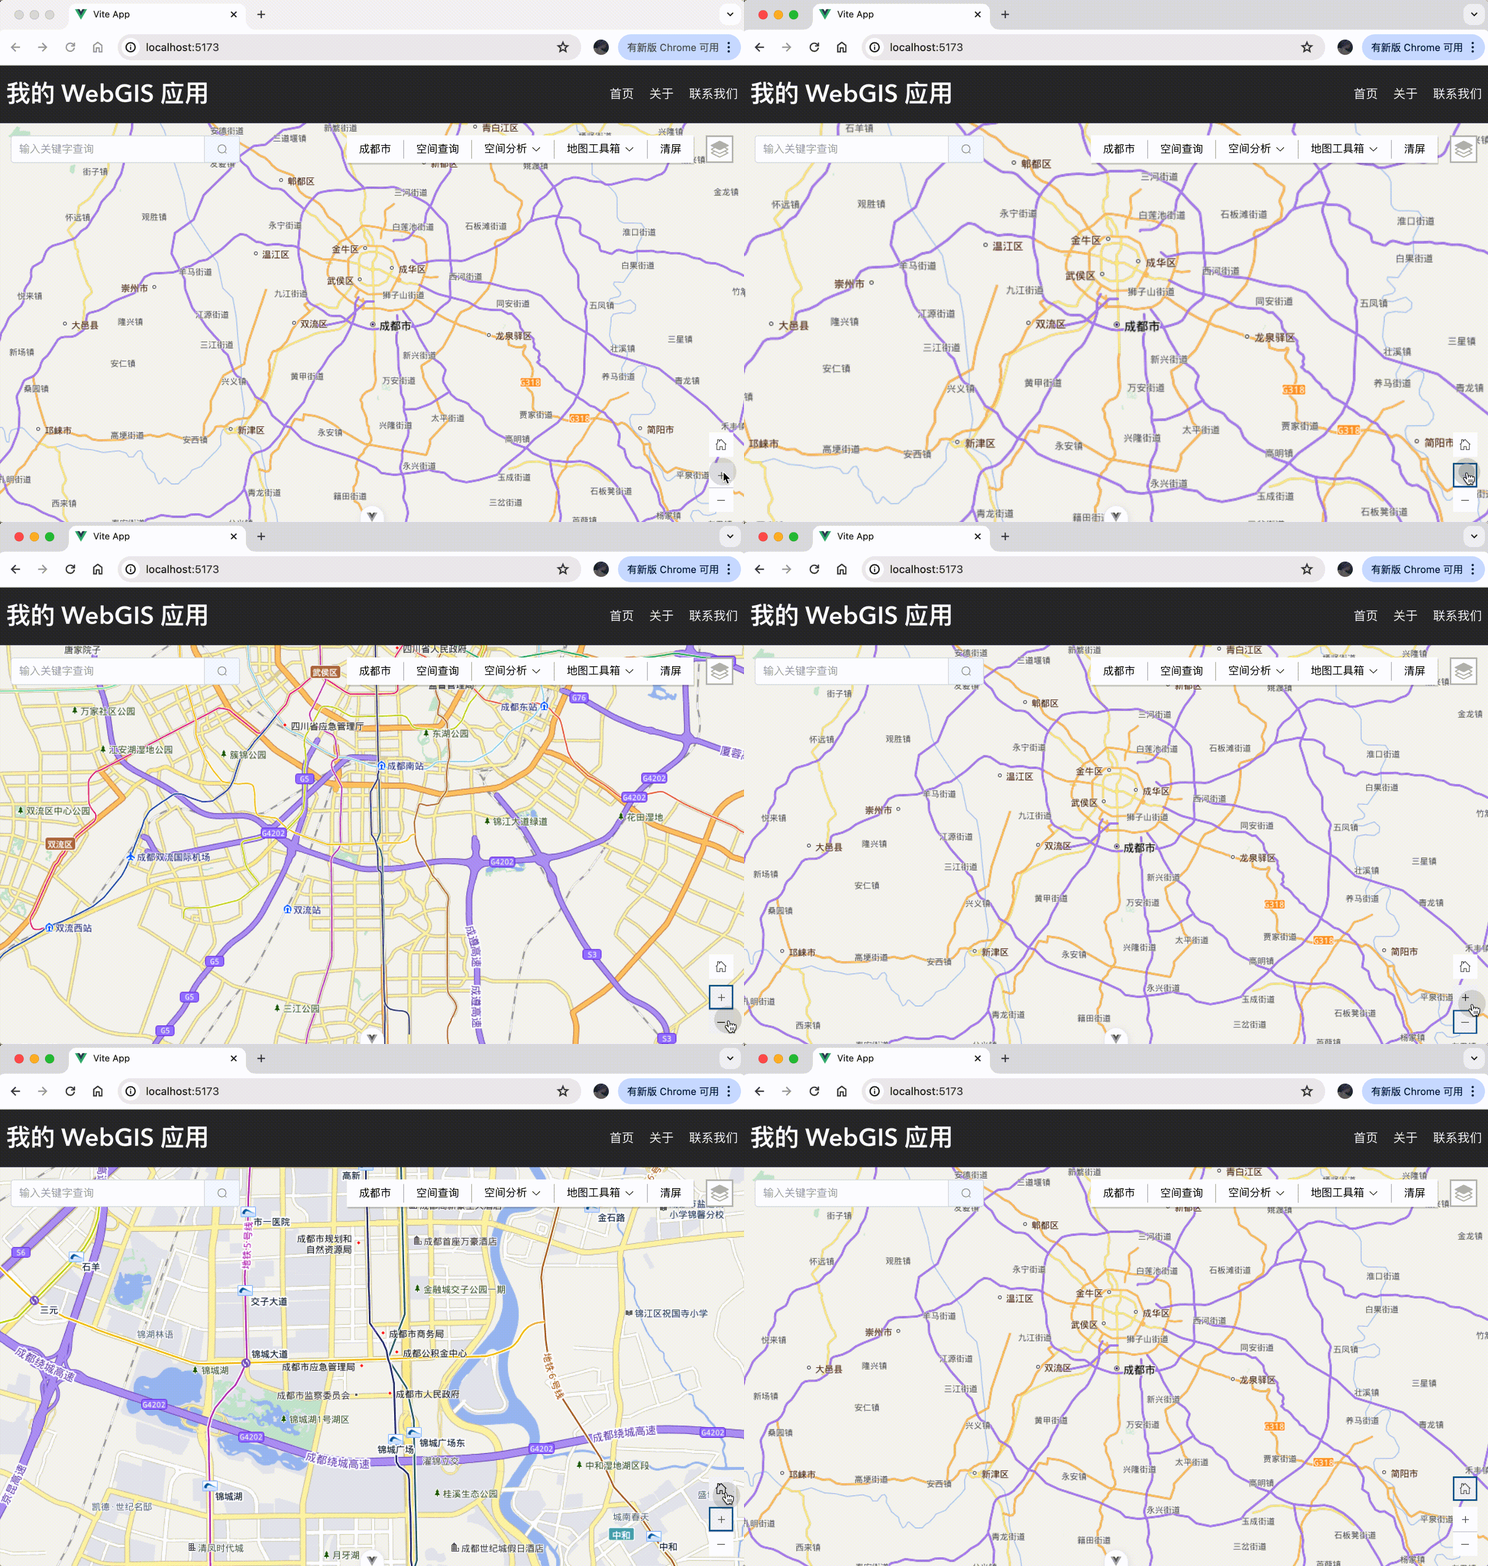
二三维视图切换组件
在 MapMore 中增加类名为 view-change 的 div 元素,并设置其 css 样式:
<template>

  <div class="map-more">
        // ......
    <div class="view-change" @click="handleViewChangeBtnClick">
      {{ currentViewType }}
    </div>

  </div>
</template>

<script setup lang="ts">
  import { onMounted, ref } from "vue"
  // ......
  const currentViewType = ref("3D")

  function handleViewChangeBtnClick() {}
  // ......
</script>

<style scoped>
  // ......
  .view-change {
    position: absolute;
    bottom: 0;
    right: 0;
    width: 32px;
    height: 32px;
    text-align: center;
    line-height: 32px;
    background-color: #ffffff;
    color: #6a6a6a;
    box-sizing: border-box;
    cursor: pointer;
  }
</style>
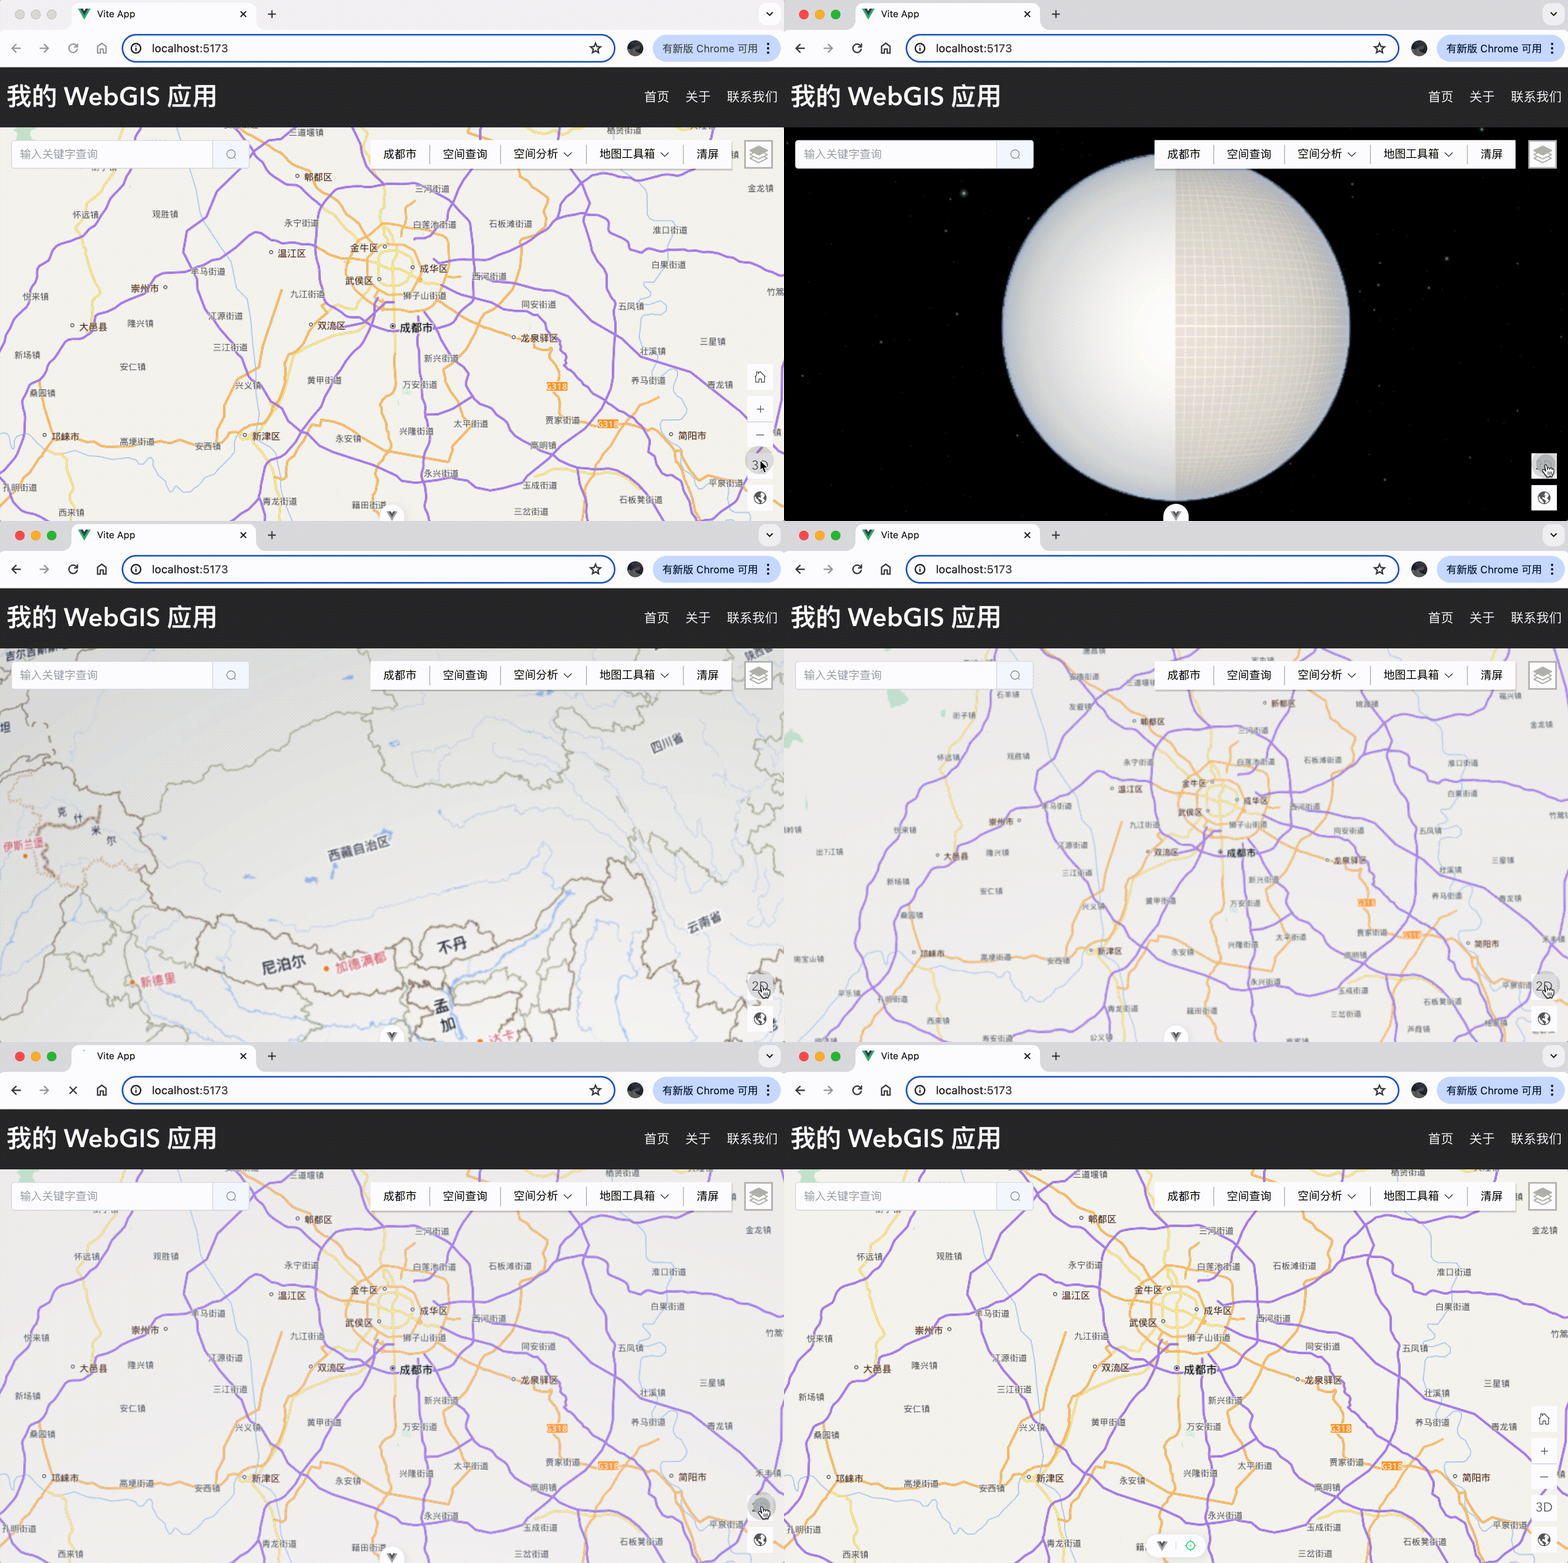
预览界面如下所示:
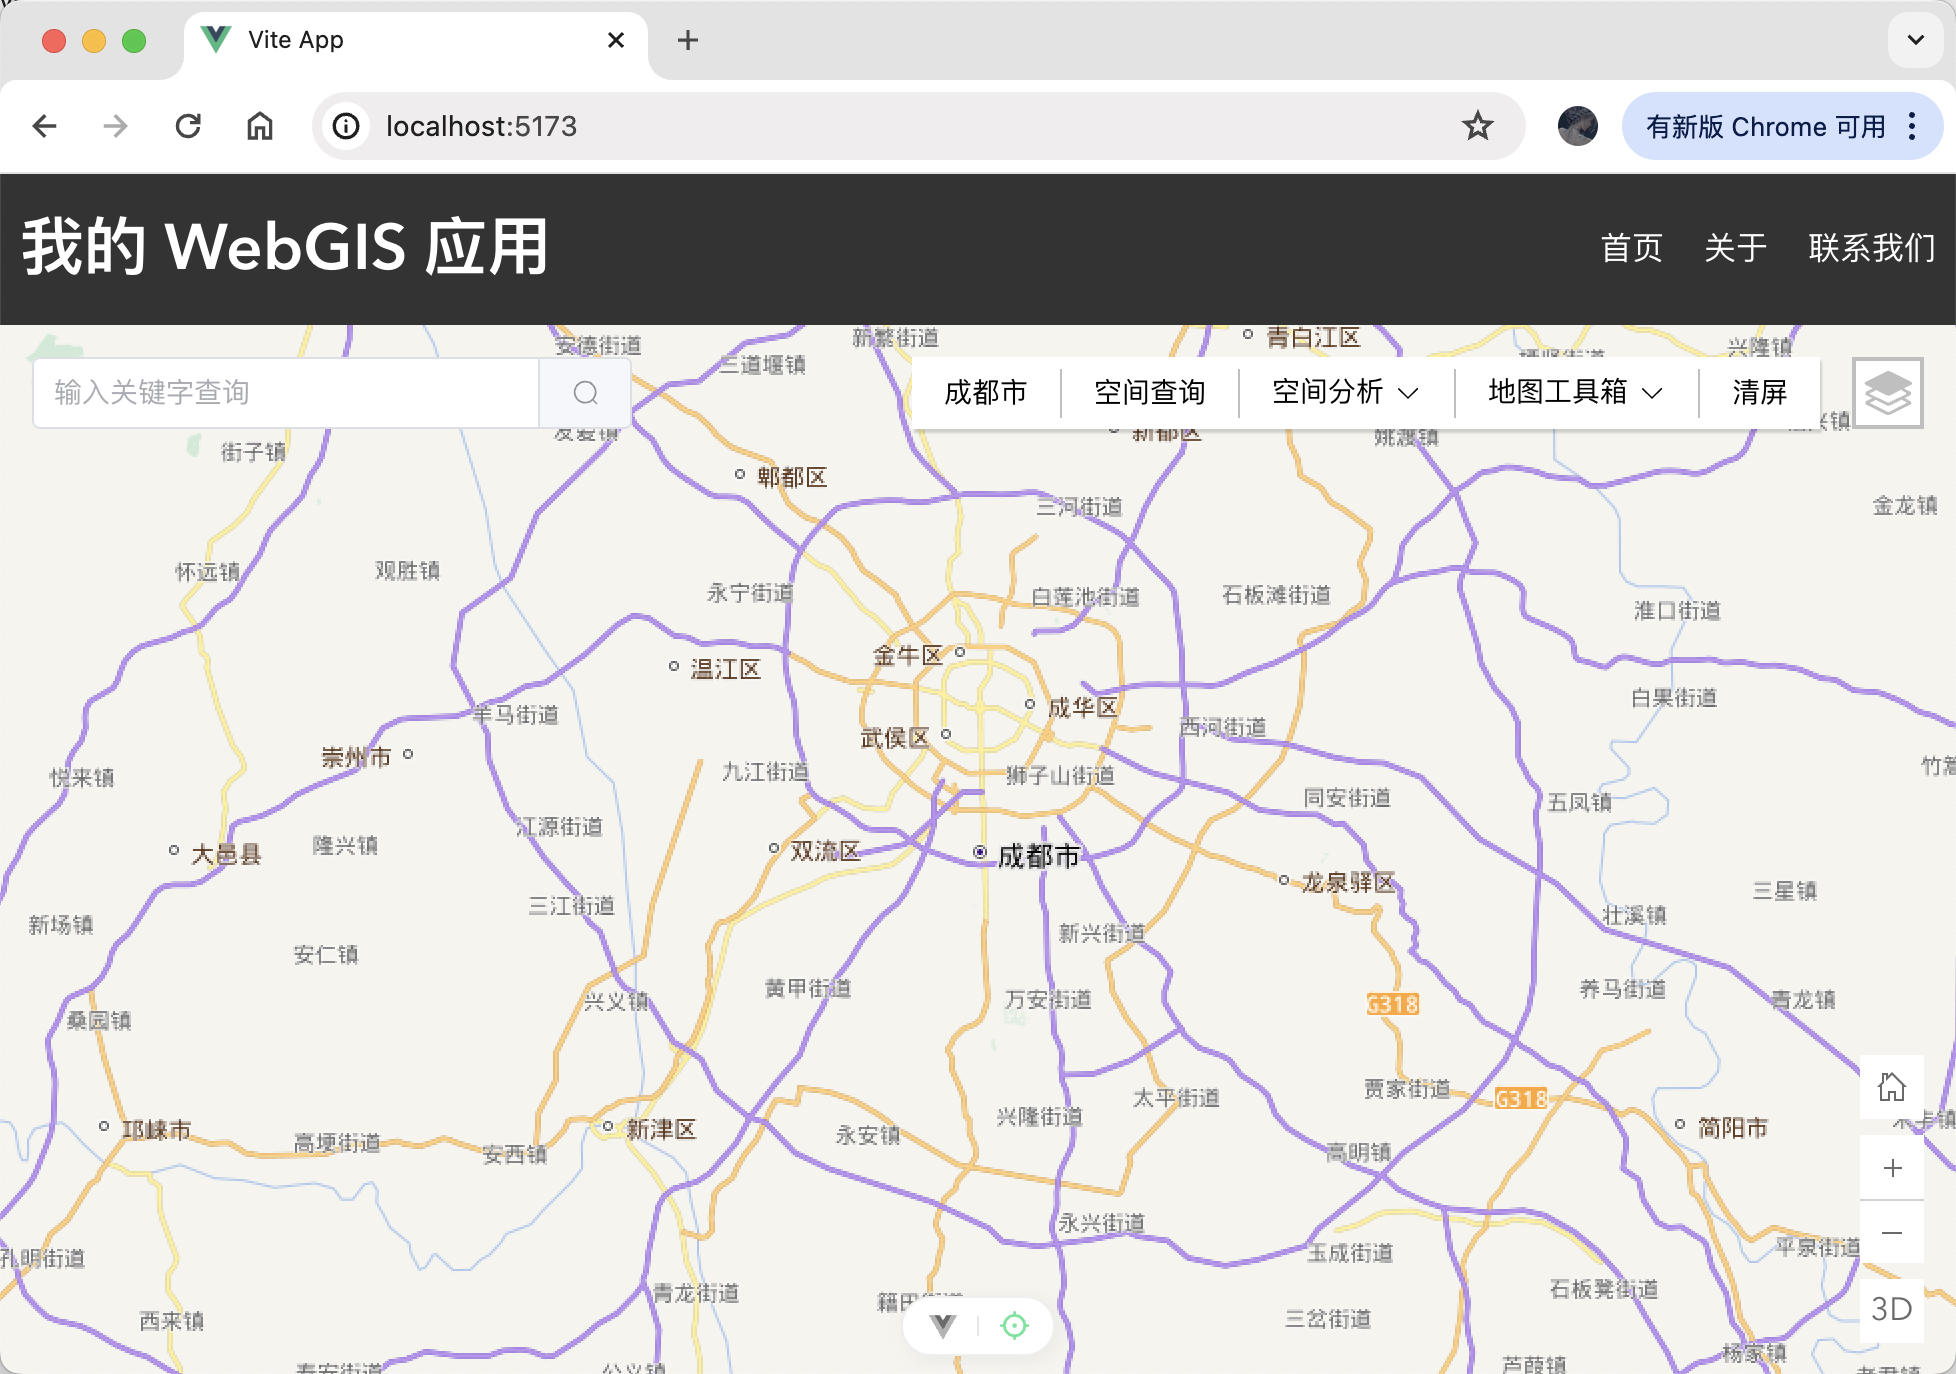
在 view-change 元素上面绑定 click 事件,然后实现视图切换逻辑:
import SceneView from '@arcgis/core/views/SceneView.js'
// ......

function handleViewChangeBtnClick() {
  const mapView = mapViewStore.mapView as MapViewData
  const map = mapView.map
  if (currentViewType.value === '3D') {
    const sceneView = new SceneView({
      map,
      container: 'map'
    })
    sceneView.when(() => {
      sceneView.ui.components = []
      sceneView.goTo({
        center: [104.061982, 30.577203],
        zoom: 10
      })
    })
    currentViewType.value = '2D'
  } else {
    window.location.reload()
  }
}
此时界面预览效果如下所示:
底图切换组件
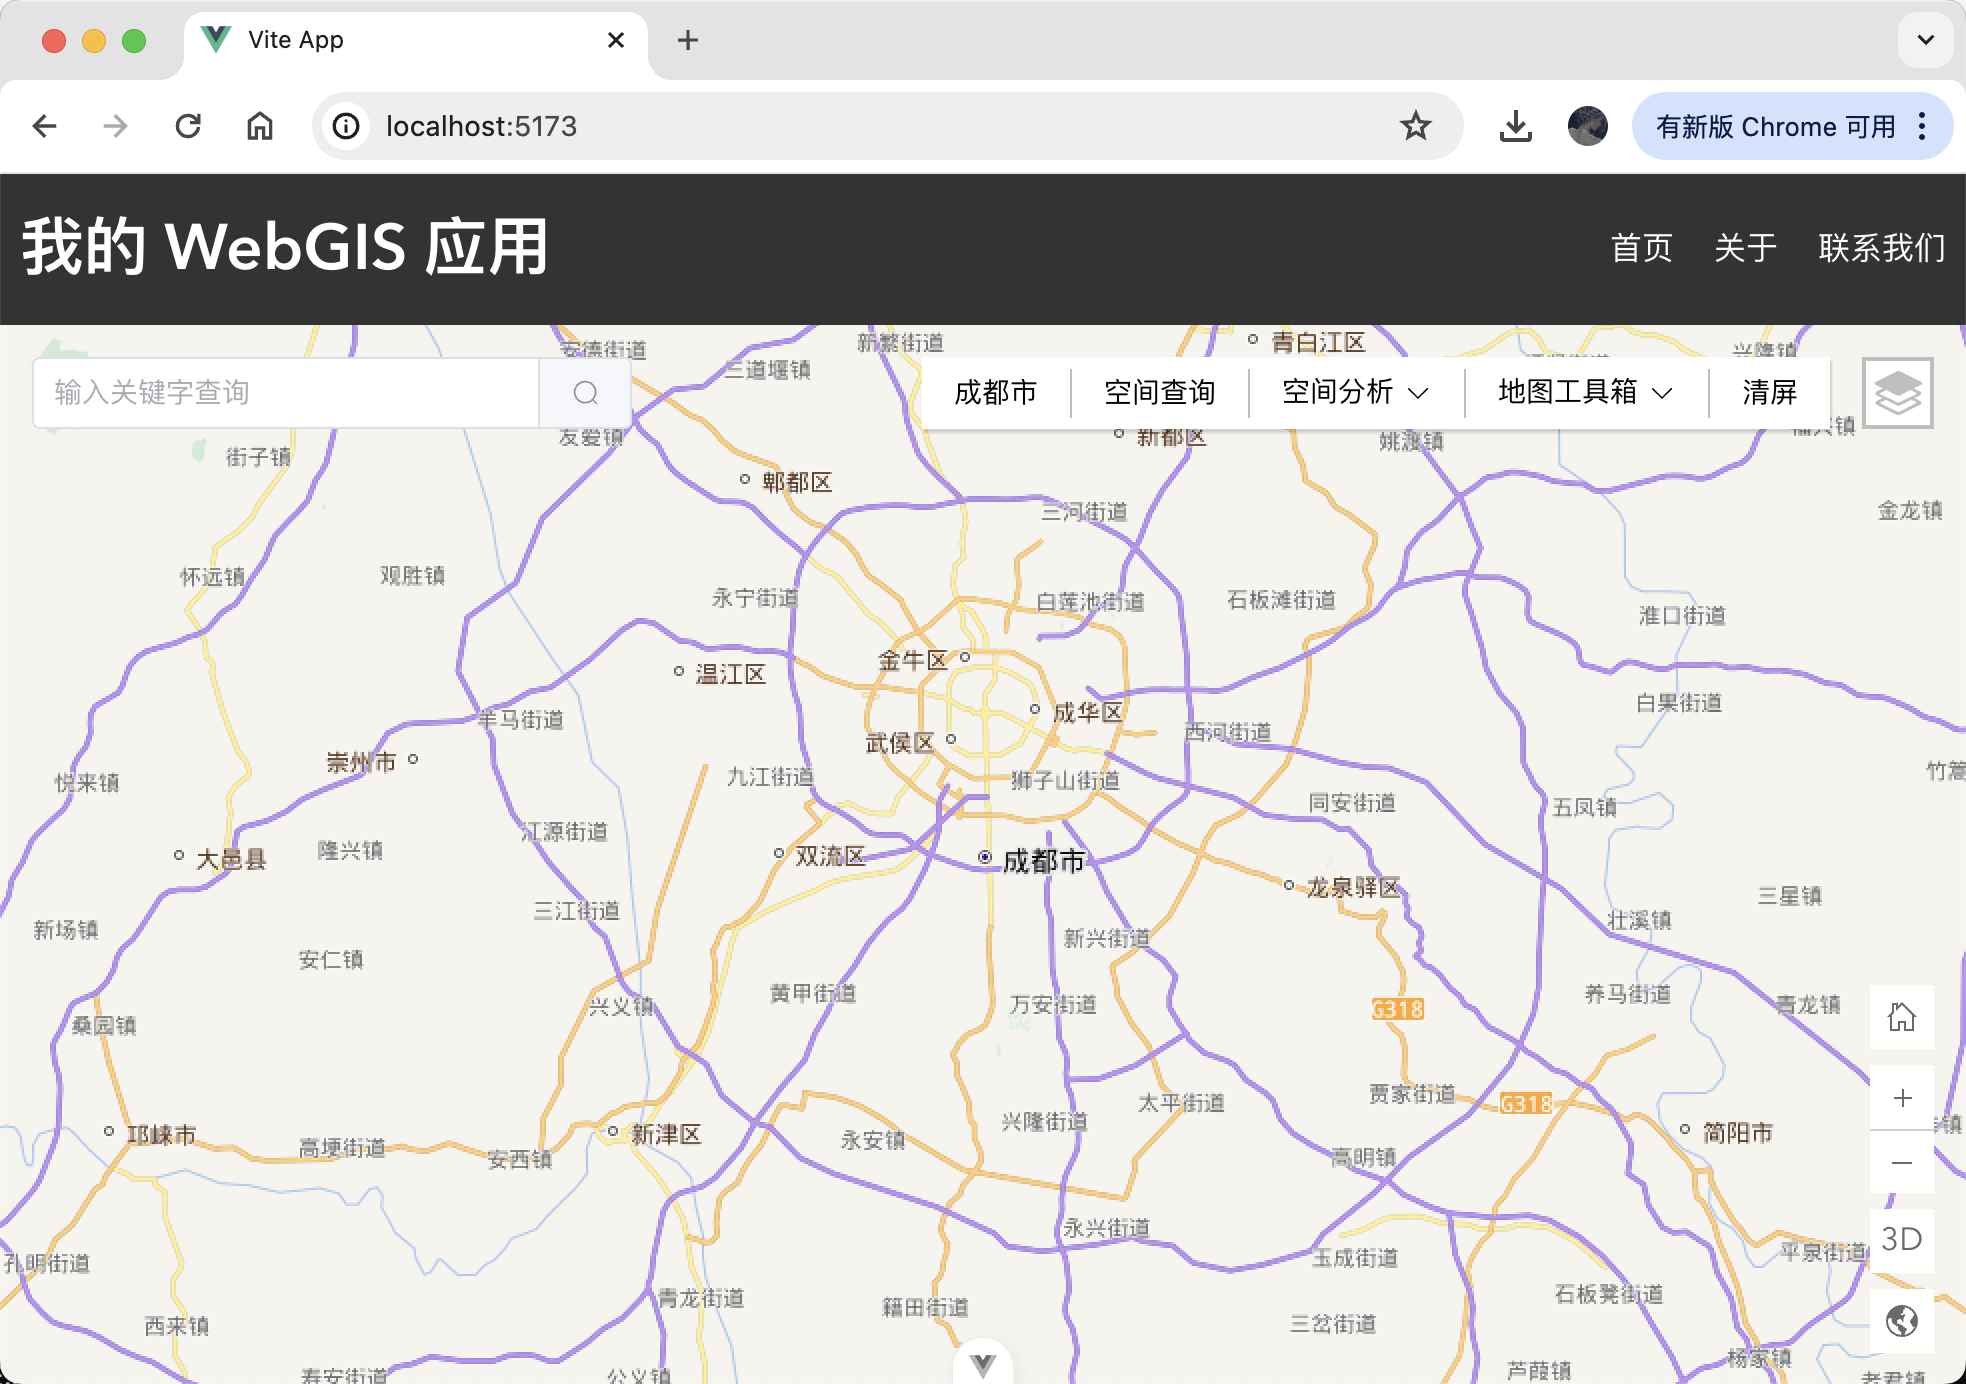
在 MapMore 中增加类名为 basemap-change 的 div 元素,并设置其 css 样式:
<template>

  <div class="map-more">
        // ......
    <div class="basemap-change" @click="handleBaseMapChangeBtnClick">
            <img :src="BaseMapChangeIcon" />
    </div>

  </div>
</template>

<script setup lang="ts">
  // ......
  function handleBaseMapChangeBtnClick() {}
</script>

<style scoped>
  // ......
  .basemap-change {
    position: absolute;
    bottom: 0;
    right: 0;
    width: 32px;
    height: 32px;
    padding: 8px;
    display: flex;
    justify-content: center;
    align-items: center;
    background-color: #ffffff;
    color: #6a6a6a;
    box-sizing: border-box;
    cursor: pointer;
  }
  .basemap-change img {
    width: 100%;
    height: 100%;
  }
</style>
界面预览如下图所示:
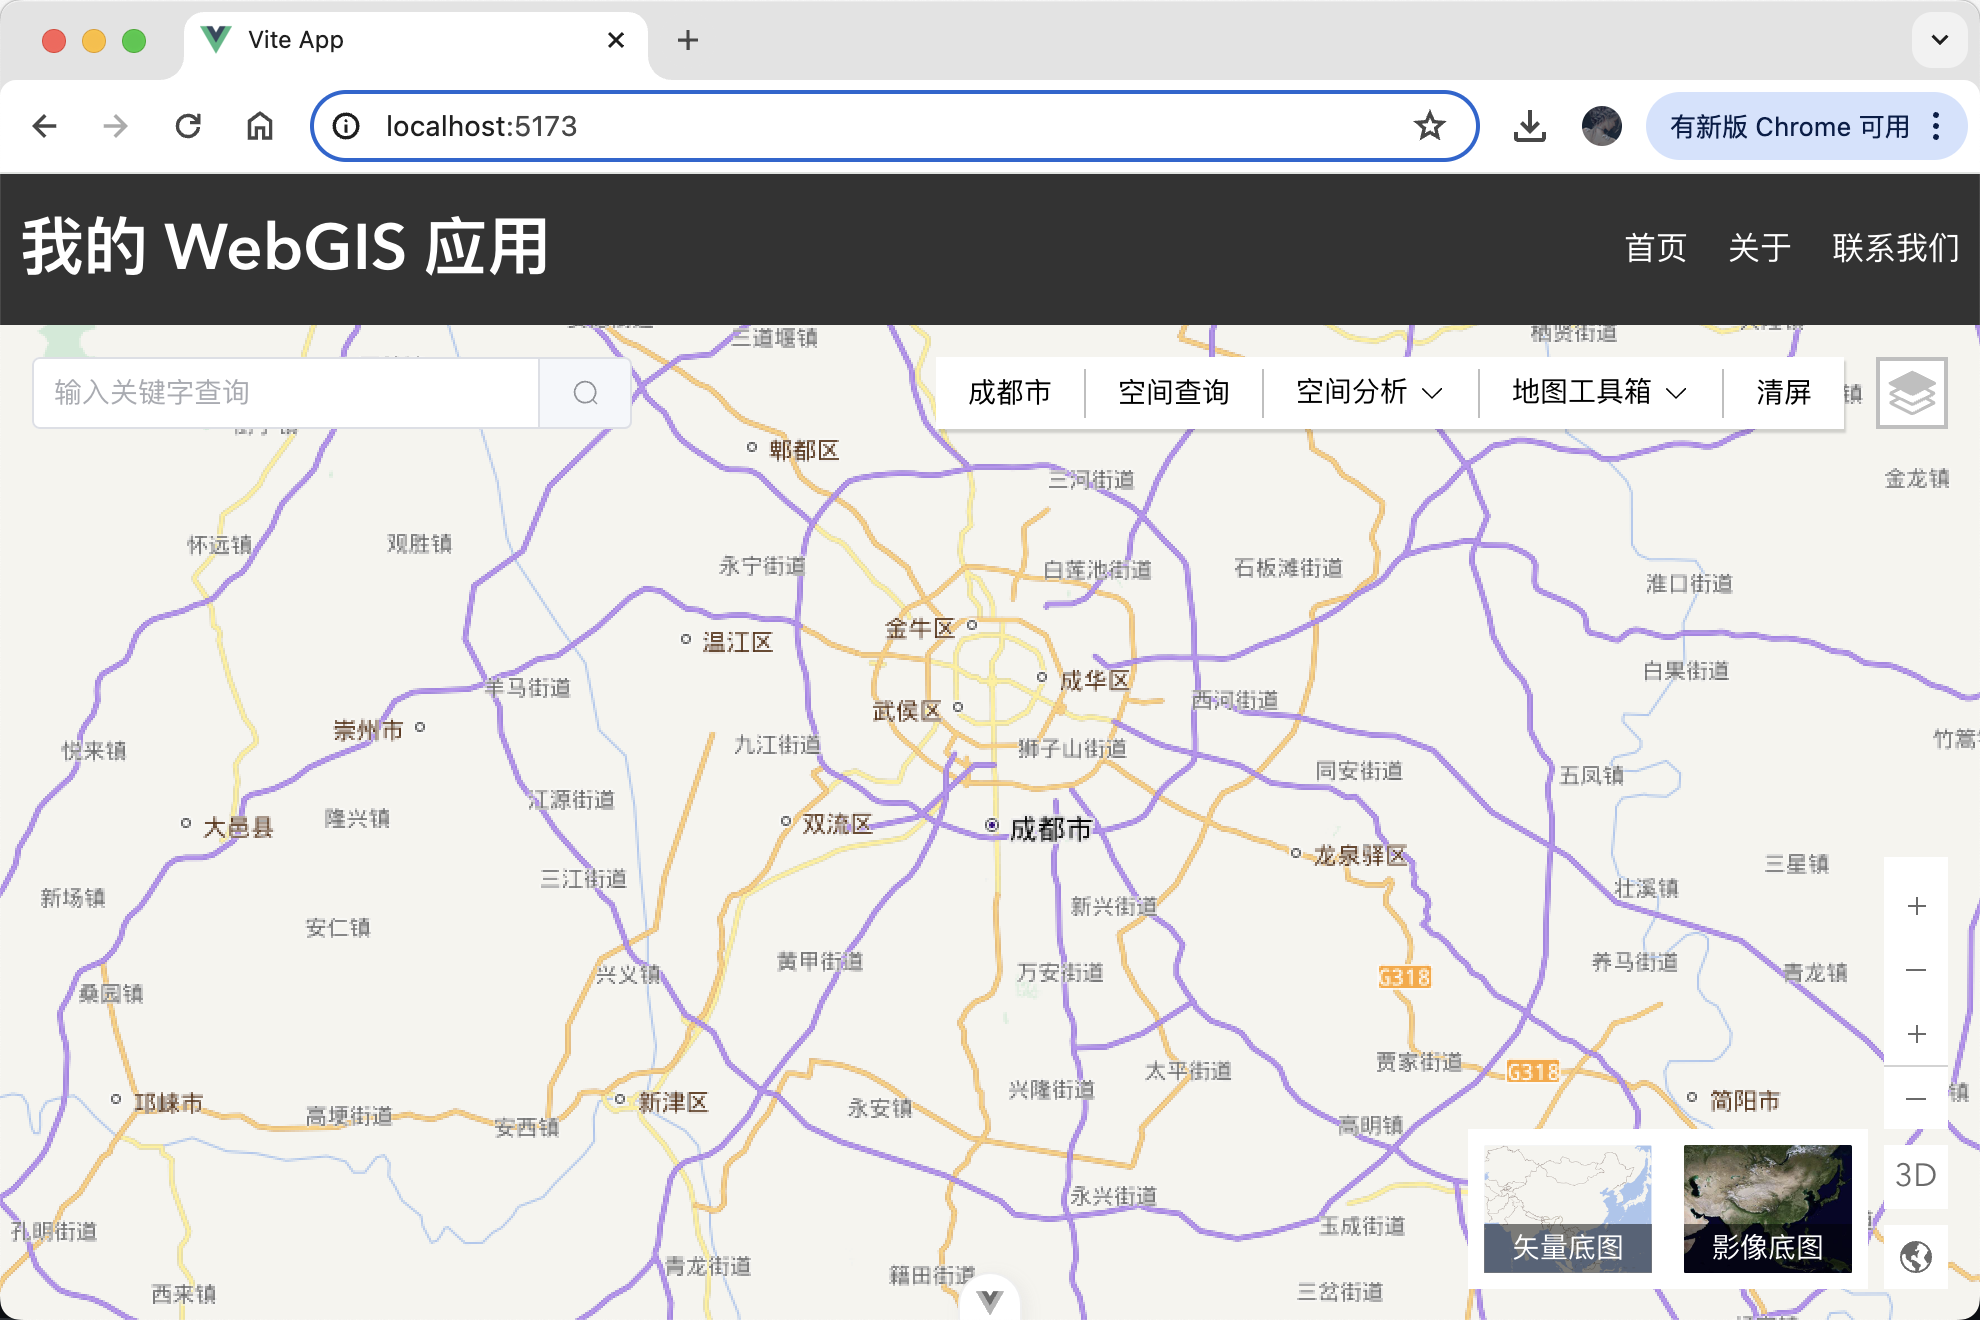
继续增加 basemap-view 元素,并增加 basemap-change 元素的 click 事件:
<template>

  <div class="map-more">
        // ......
    <div class="basemap-view" v-show="basemapViewVisible">

      <div class="basemap-item" v-for="basemap in basemaps" :key="basemap.id">
                <img :src="basemap.icon" />
        <span>{{ basemap.name }}</span>
      </div>

    </div>

  </div>
</template>

<script setup lang="ts">
  // ......
  const basemapViewVisible = ref(false)
  const basemaps = [
    {
      id: "basemap-1",
      icon: VectorBaseMapIcon,
      name: "矢量底图",
      type: "vector",
    },
    {
      id: "basemap-2",
      icon: ImageBaseMapIcon,
      name: "影像底图",
      type: "image",
    },
  ]

  function handleBaseMapChangeBtnClick() {
    basemapViewVisible.value = !basemapViewVisible.value
  }
</script>

<style scoped>
  // ......
  .basemap-view {
    float: right;
    margin-right: 40px;
    width: 200px;
    height: 80px;
    display: flex;
    background-color: #ffffff;
    box-sizing: border-box;
  }
  .basemap-item {
    position: relative;
    width: 50%;
    height: 100%;
    padding: 8px;
    box-sizing: border-box;
    cursor: pointer;
  }
  .basemap-item img {
    width: 100%;
    height: 100%;
  }
  .basemap-item span {
    position: absolute;
    display: inline-block;
    bottom: 8px;
    left: 8px;
    width: calc(100% - 16px);
    font-size: 14px;
    background-color: rgba(1, 1, 1, 0.5);
    color: #ffffff;
    text-align: center;
  }
</style>
预览界面如下所示:
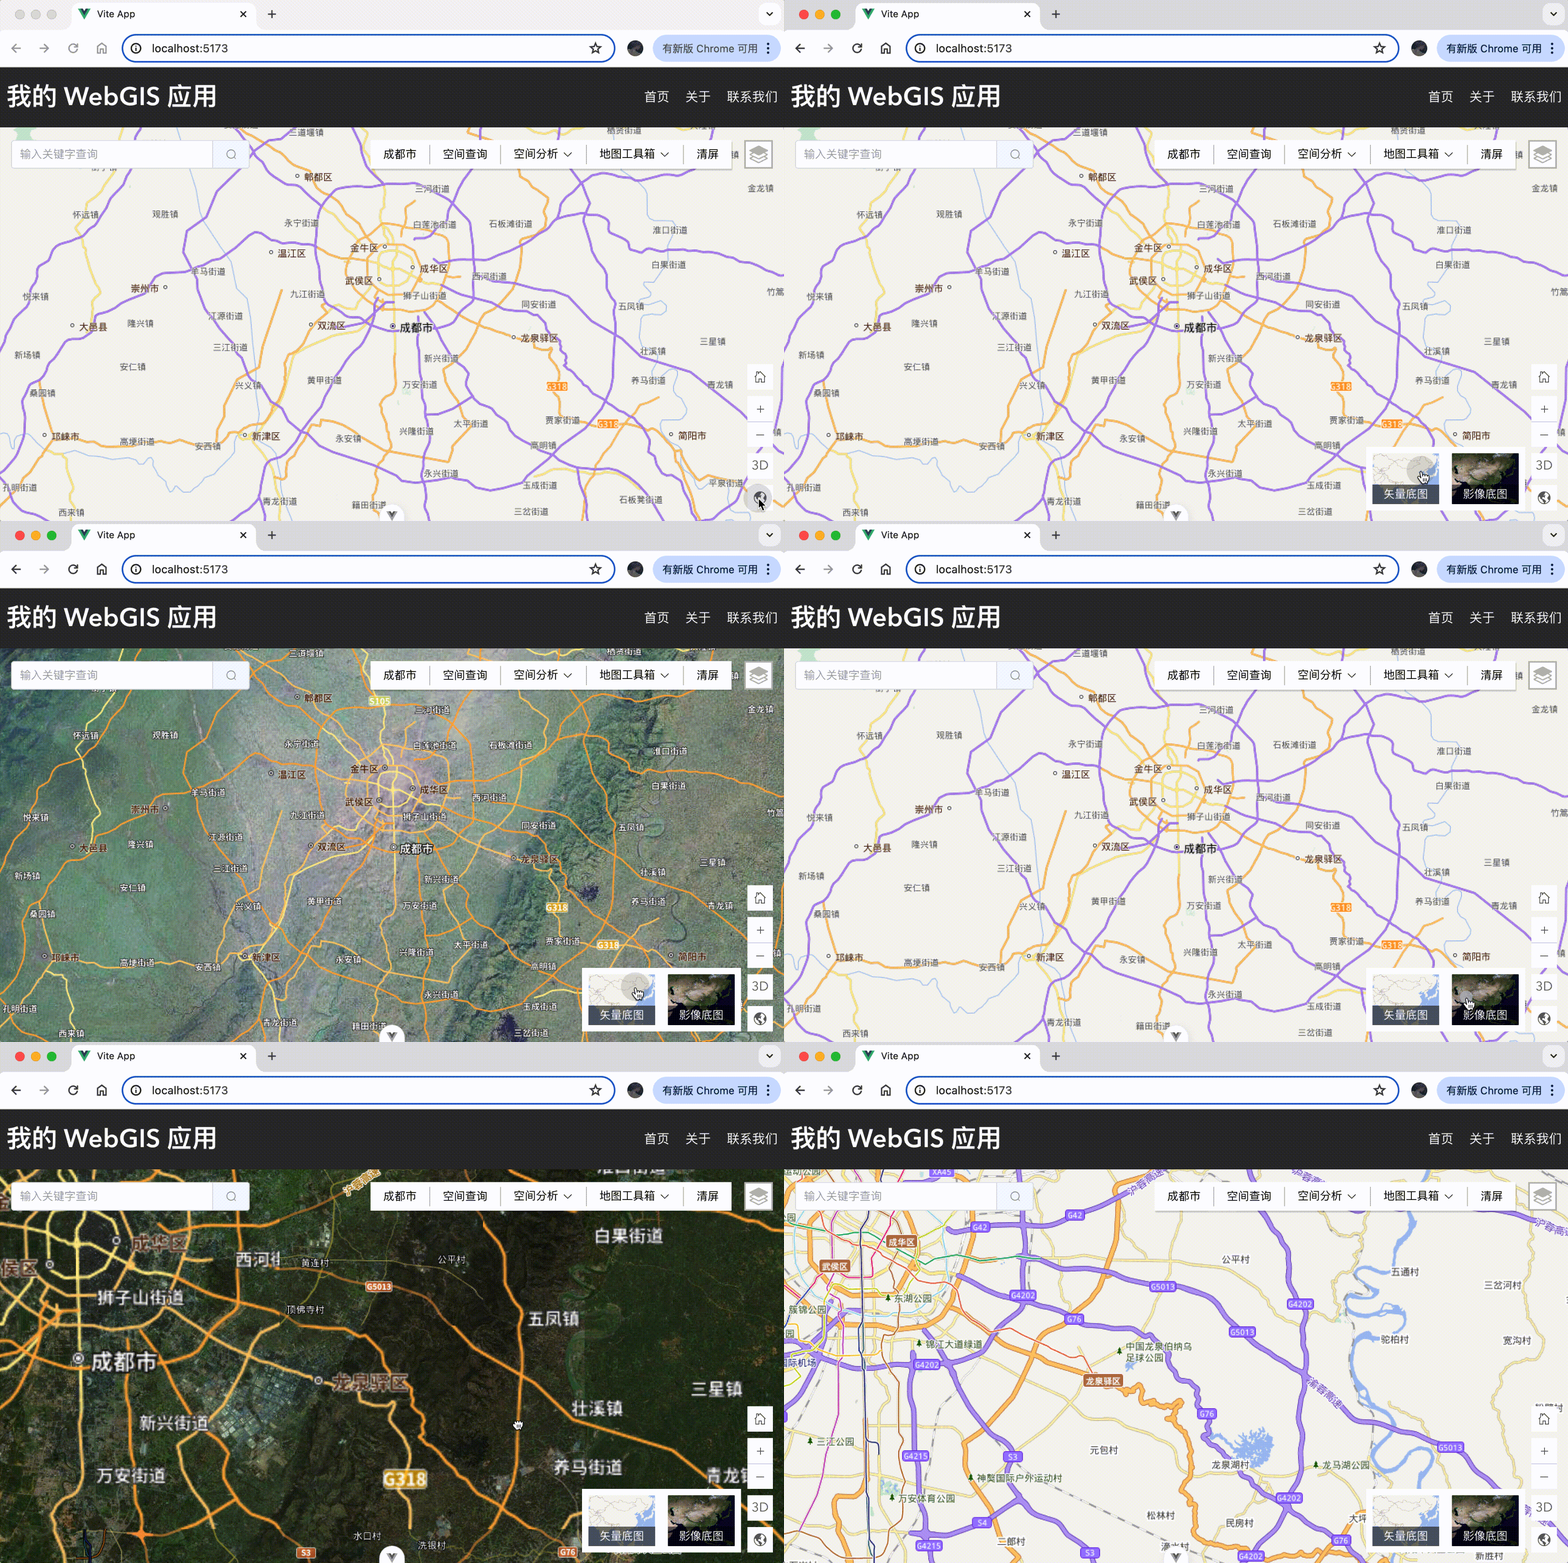
接下来为 basemap-item 绑定 click 事件,完成底图切换逻辑:
function handleBaseMapChange(type: string) {
  const mapView = mapViewStore.mapView as MapViewData
  if (type === 'vector') {
    const tiandituLayer = new WebTileLayer({
      urlTemplate:
        'http://{subDomain}.tianditu.gov.cn/DataServer?T=vec_w&x={col}&y={row}&l={level}&tk=申请的 Key',
      subDomains: ['t0', 't1', 't2', 't3', 't4', 't5', 't6', 't7']
    })
    const tiandituLayer_POI = new WebTileLayer({
      urlTemplate:
        'http://{subDomain}.tianditu.gov.cn/DataServer?T=cva_w&x={col}&y={row}&l={level}&tk=申请的 Key',
      subDomains: ['t0', 't1', 't2', 't3', 't4', 't5', 't6', 't7']
    })
    const basemap = new Basemap({
      baseLayers: [tiandituLayer, tiandituLayer_POI]
    })
    mapView.map.basemap = basemap
  } else {
    const tiandituLayer = new WebTileLayer({
      urlTemplate:
        'http://{subDomain}.tianditu.gov.cn/DataServer?T=img_w&x={col}&y={row}&l={level}&tk=申请的 Key',
      subDomains: ['t0', 't1', 't2', 't3', 't4', 't5', 't6', 't7']
    })
    const tiandituLayer_POI = new WebTileLayer({
      urlTemplate:
        'http://{subDomain}.tianditu.gov.cn/DataServer?T=cia_w&x={col}&y={row}&l={level}&tk=申请的 Key',
      subDomains: ['t0', 't1', 't2', 't3', 't4', 't5', 't6', 't7']
    })
    const basemap = new Basemap({
      baseLayers: [tiandituLayer, tiandituLayer_POI]
    })
    mapView.map.basemap = basemap
  }
}
界面预览效果如下:
小作业:继续添加和完善未实现小功能
目前,地图工具箱中测距和标记点功能暂未实现,请参考 SketchViewModel 和 GraphicsLayer 的使用,完善这俩功能逻辑;除此之外,地图左下角区域按惯例来讲,一般会展示比例尺信息,参考 Home、Zoom 组件的使用,完善地图比例尺信息展示功能。
结语
通过本文的介绍,相信你应该能够掌握如何使用 ArcGIS Maps SDK for JavaScript 实现地图的全屏显示、底图切换以及二三维视图切换。这些功能的实现将大大提升地图应用的交互性和用户体验。不要忘记完成小作业,实践是检验学习成果的最好方式。
